Showing posts with label speed painting. Show all posts

Saturday, 8 May 2021

The Good Bad Idea: Some speed-painted orks

 The other day I had one of those ideas that comes to you as though in a dream: an idea for how to bulk up my year's painting total, provide a team for anyone who wants to play Stargrave with me but doesn't have models, and test some techniques in the process. It preyed on me all of Monday night, and on Tuesday I got to work. By Saturday morning I had this: 


If you are a British gamer, I think you have some Space Marines. You may never have played Warhammer 40,000 in your life, but you'll have some. I think they grow in cardboard boxes or someone puts them through the letterbox. Only marginally rarer are the multi-part plastic Orks from ... Assault on Black Reach, I think? Anyway, I have a few, plus some other Ork kits, in a big tackle box, and I'm never going to use them because they don't blend well with my Ork army, which is in an older style. So I put some together, with some spare parts from the bits box (mostly Ramshackle Games stuff). This was actually a pretty long process -- about two to three hours. I mounted them on plastic bases from Renedra and textured their bases with acrylic modelling paste from Hobbycraft. 


I primed them with Halford's matt black spray paint and then gave them a zenithal spray with Halford's grey primer. This is a quick and dirty way of creating some shadow and contrast: very important for speed painting. 


Now the actual painting process began. I mainly used cheap craft paints in dark red, brown, ochre, silver, black, yellow, and white. I did use a few actual miniatures paints, which were: 

  • Citadel Mephiston Red. My go to mid-red base colour. 
  • Citadel Evil Sunz Scarlet. My orky bright red. Remember when Citadel reds were just trash?
  • Citadel Warboss Green. This has been in my paint box ever since that lying swine in GW said it was a good match for old Goblin Green, which it is not. 
  • Citadel Ushabti Bone. A pleasing colour for teeth.
  • Your friend and mine, Agarax Earthshade. I actually intended to use Army Painter Strong Tone, but it turns out I haven't got any. 
I flicked brown, black, and white paint at the models with a toothbrush. This might seem like a mad thing to do, but it's really just there to help create a feel of texture and weathering that should show through the coats of paint. It'll save a lot of time, especially on the metallics. This process took about 10 minutes. 


Next I blocked in the base colours using thin layers. I didn't both to make the coverage very even on anything but the skin, and I really just jabbed the silver paint (mixed with a little black) onto the metallics. As you can see, they look rusty and nasty, which is what you want for orks. I did this in a series of steps, each about 10-15 minutes, but the whole process took about an hour and fifty minutes. Counting flecks, that's two hours. 


Here's the whole crew with their base colours hastily applied.

I did a tiny highlight of the skin with a mixture of green and yellow, and then I hit the whole model with that Agarax Earthshade wash -- including the green areas. It looks OK! This took about 15 minutes.


Then I went back and touched up and re-highlighted the skin with that green-yellow mixture. I also dotted in the eyes with ochre and then a little splotch of yellow in the centre. This took about another 15 minutes. 


Finally, I took each model and spent a few minutes doing the individual details -- picking out pouches, straps, fur trim, goggles and so on. I didn't want them to be perfect, and I could have skipped it, but it didn't take that long and I think it helps, particularly on fiddly areas like the captain's goggles. I rehighlighted some of the metals as well and just touched up a missed patch here and there. This was actually one of the longest phases, taking nearly an hour. 

When you add up all of that time, the process took just under three and a half hours. Adding in priming and some other things I'm probably forgetting, I'm happy to round up to four hours, or an average of 24 minutes per model. I think that they're pretty good-looking for that level of investment, and I 

The crew assembled

Captain (Cyborg) and First Mate (Veteran)

Two Sentries and a Commando, or a Trooper, I forget.

Gunner and Burner

Two Recruits

A Runner


Wednesday, 29 January 2020

Warband in a week!

A few weeks ago, a friend of mine told me that he'd booked a space in a Frostgrave tournament in London but wasn't going to be able to make it. He asked me if I'd like to take his place, and I said I would. 

Later that night, as I was cycling somewhere, I thought to myself "you know, I'm not completely happy with how my current warband looks; I could maybe put together a new one ... 

Oh, did I mention the tournament was a week away? 

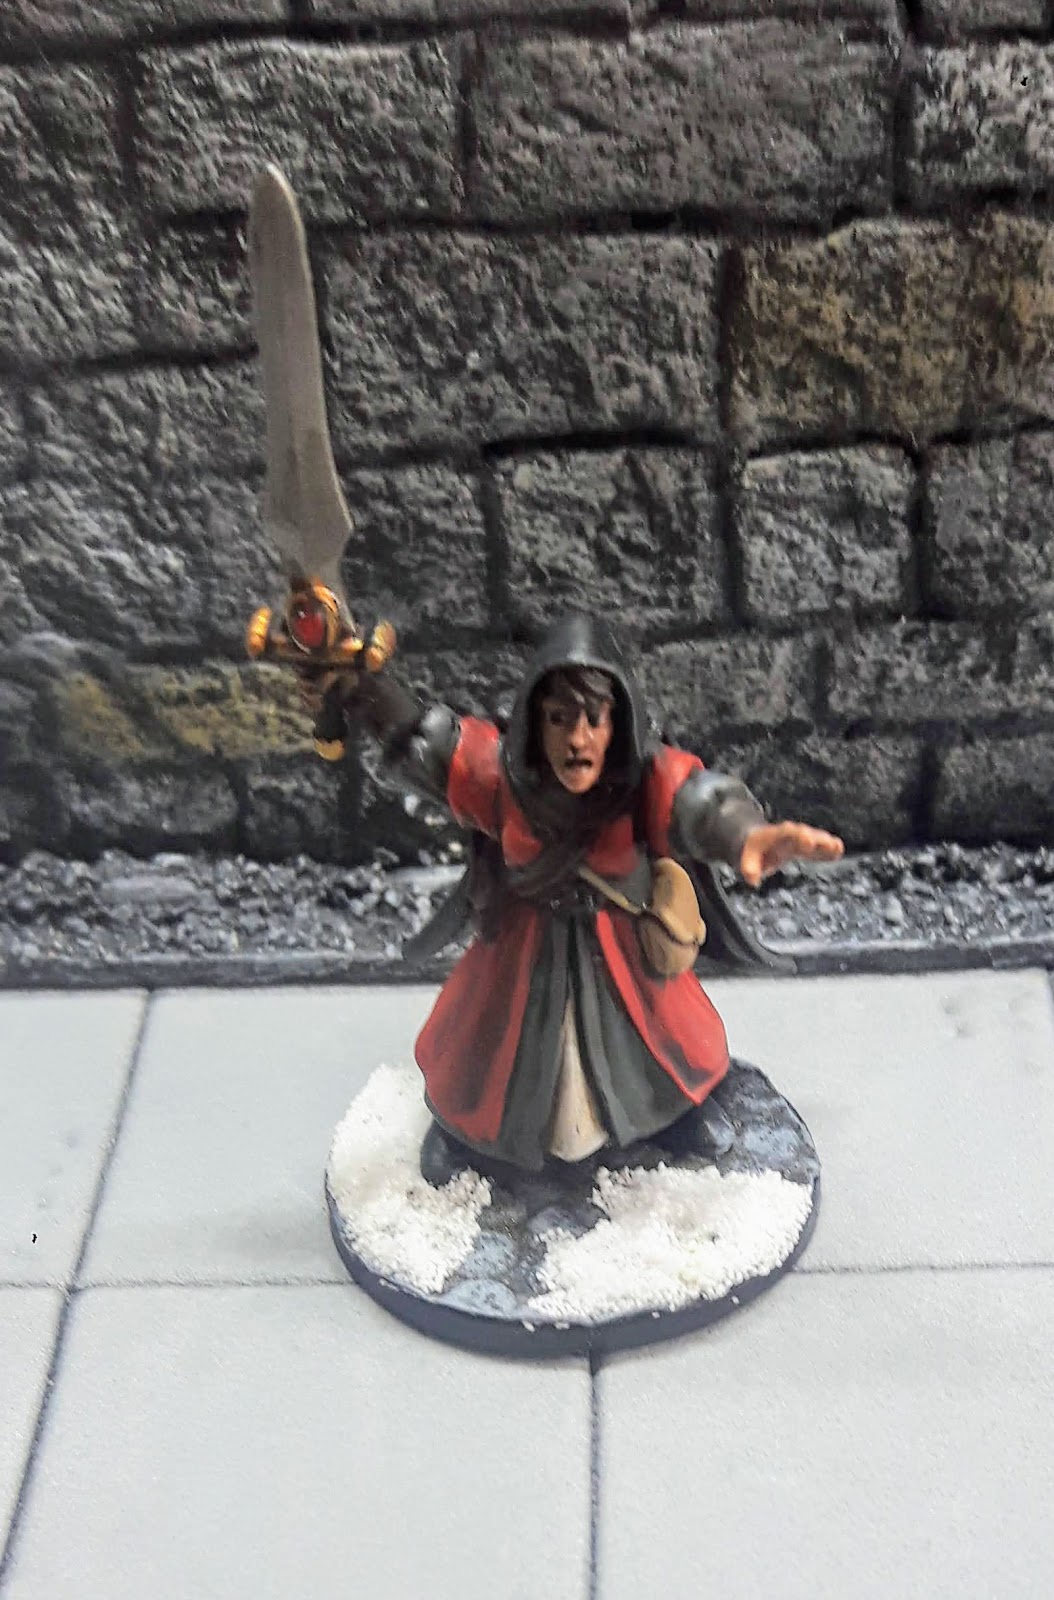
Anyway, I took a quick trip to the lead mountain and the two big file drawers known only as Sprue Hell, and then I did some clipping and sticking while watching TV with my wife. The result was this 650gc warband (not pictured: warhound). Their base textures are circles of textured wallpaper. 


Before I started, I decided that I would run a Necromancer, the wizard type I know best. I decided that I would have a very simple colour scheme, partly based on what I'd done with my last warband: I would use black and neutral colours, with just one accent colour. Lower-ranking characters would be mostly or half black, while the higher-ranking ones would have more red.


I primed the models in black except for the zombie: I was unfamiliar with the kind of plastic it was made of and haven't always had success using Citadel black primer on new materials. I knew that the base red colour I was using, Citadel's Mephiston Red, would cover reasonably well over the black primer. If you're going to prime black, you have to know this in advance, because bright colours over black can be a real challenge.


These work-in-progress shots show how I handled the basic painting. I used the Mephiston Red on some parts of the clothing and then lightly drybrushed black areas with a mixture of brown and grey to bring out the texture. I picked a small number of neutral colours: Citadel Xandri Dust, Rhinox Hide, Mechanicum Standard Grey, Leadbelcher, and Retributor Armour. I also decided to paint the faces in slightly varied tones, including Vallejo Base Flesh and Citadel Bugman's Glow, Cadian Fleshtone, and Rhinox Hide. Once I had the base colours on, I gave the whole thing a wash of Agrax Earthshade (except here and there where I washed the faces with Reikland Fleshshade). 

The zombie had a slightly different skin tone -- Citadel Death Guard Green. I also added some rust with Vallejo Leather Brown, my go-to rust colour.

Once the base colours were on, I re-highlighted the red and the faces with the original colour, then went up one shade on the red, adding a very faint highlight of Evil Sunz Scarlet. Lastly, I painted the bases and added some Army Painter snow flock to give them that Frostgrave look.

The wizard!

His apprentice!

Knight

Treasure Hunters

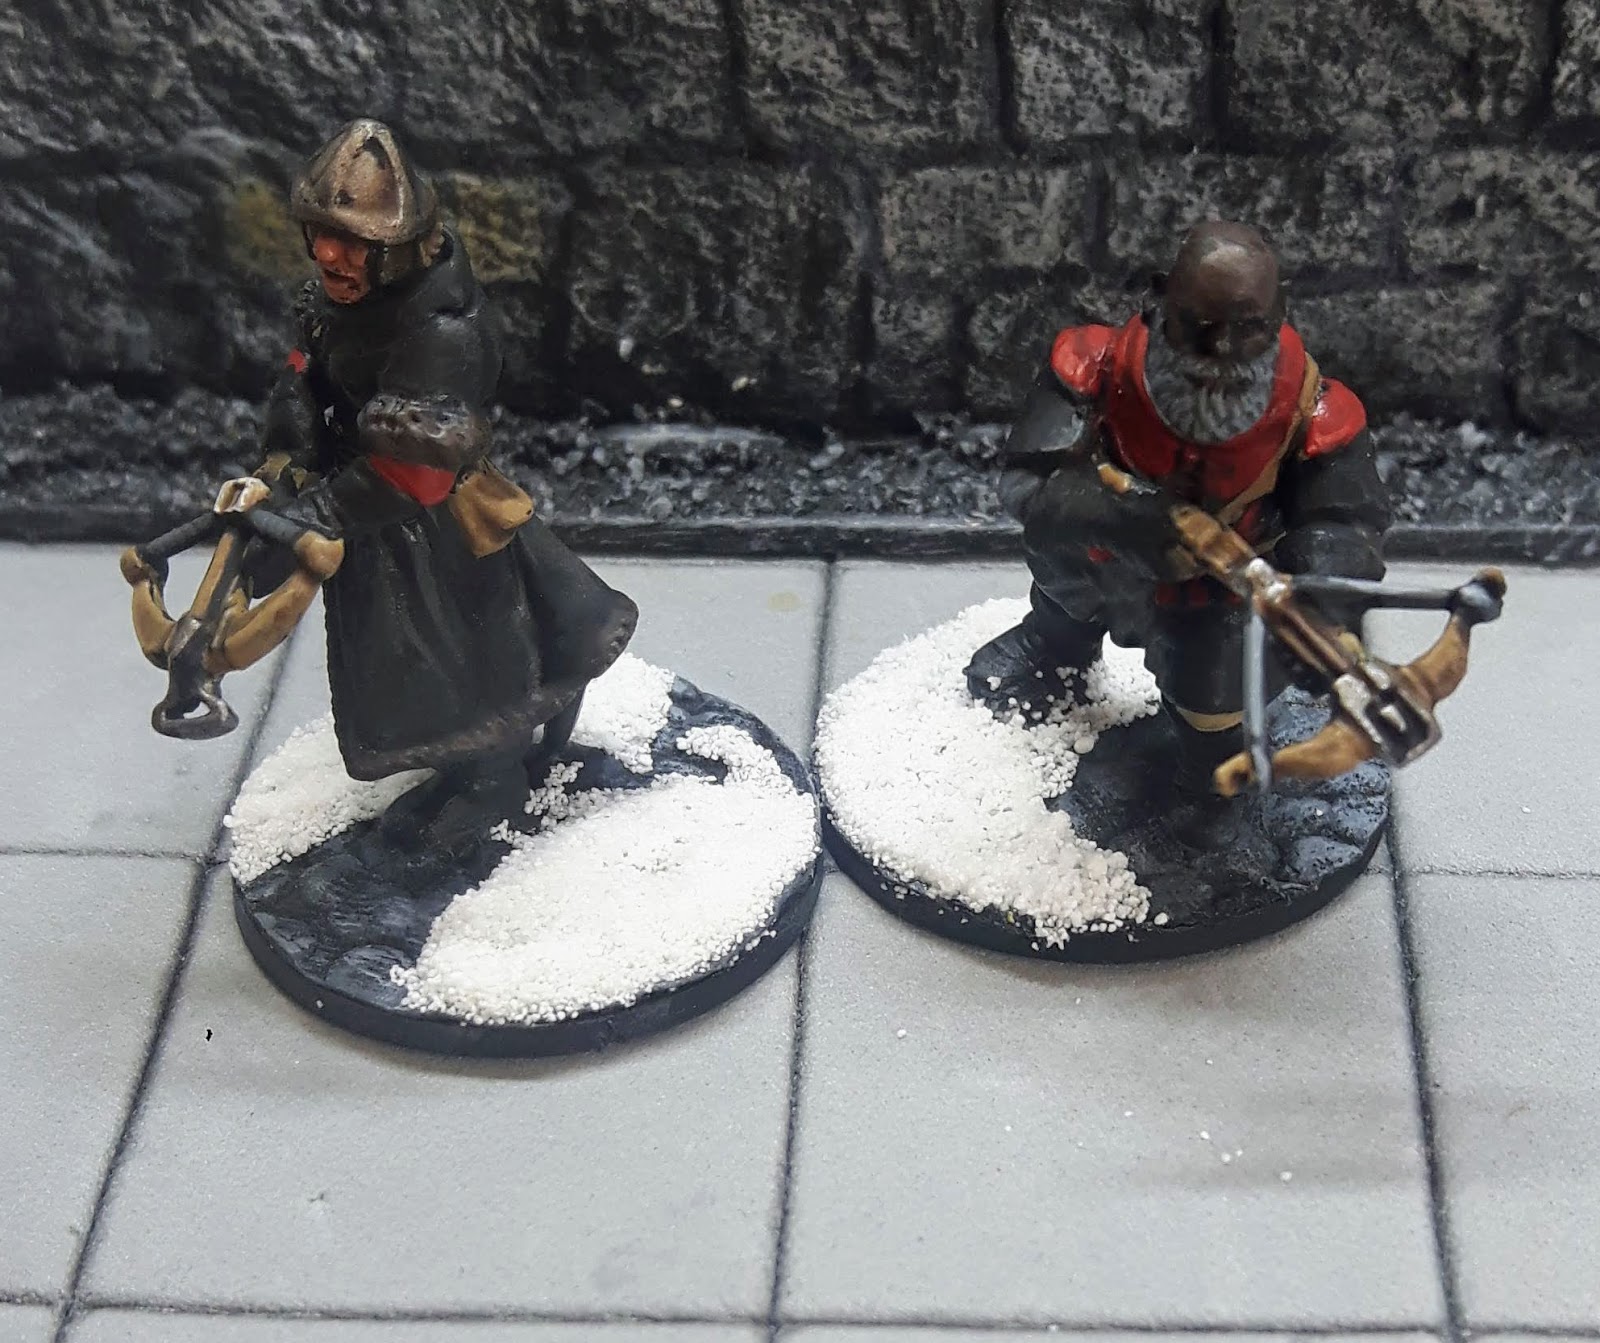
Crossbows

Thug and Archer

Zombie and Warhound (a reused model I'd already painted).
In addition to my warband, I had to create some slimes, both small and large.  These were made from hot glue and given a quick paintjob that began with Coat d'Arms Goblin Green and worked up to Vallejo Yellow-green. I think they look pretty nice for being basically free.


This Slime Lord is a Melty Man from ThunderChild Miniatures.


Overall, I'm pretty happy with how my warband came out. I managed to get the entire thing done in a week. I think it demonstrates that the tricks to speed painting like this include: 
  • Choosing a very simple but bold colour scheme that creates an appropriately thematic effect en masse. 
  • Painting over black. Your mileage may vary, but while light undercoats give you better bright colours, I find the black undercoat more forgiving for speed painting (unless I'm pre-shading over a grey undercoat which is a whole different story). 
  • Concentrating on the bits people look at: faces and bases. 
  • Working in manageable batches. I did these in sub-groups of 5 or 6, large enough to be efficient but small enough that I could see measurable progress quickly. 
  • Having a regular painting night. Every other Wednesday, I get together with a friend to paint (or sometimes play games) and it really helped my productivity. 
It was a rush, but I pulled it off and I'm pleased with the results: 13 models from bare plastic or metal (and three of them I "sculpted" in the first place) to ready for play within a week. 

Overall, then, I think the warband went well. However, I got walloped in the tournament. C'est la vie! Anyway, here are some photos: 


That's my Wizard Eye marker.


Monday, 8 October 2018

Speed painting Martians!

I bought some Mars Attacks models at Salute either this year or last, thinking I'd use them for ... oh, I dunno, something. I am now painting them up just for fun and they seem to be getting a better response than a lot of other things I post. I think they may be well-suited to my speed-painting style.

ACK! Ack-ack!

Anyway, I thought I would do a step-by-step of how I painted them, just to illuminate the technique.


First I texture the base, prime the model with grey car primer and drybrush it all over in two stages, first with a mid-grey and then with white. Normally I would also remove the mould lines, but the material of these Mars Attacks minis makes that a giant pain in the butt and I think if you look at the photos they're not too visible in the finished product.


 Next I apply the base colours in a thin layer. The main areas of the suit are VMC emerald thinned with blue Army Painter quickshade. The thinned paint lets the highlights created by the drybrush show through. The head is just washes; the very textured surface doesn't really need much else. The photo showed some blank spots, which I went back and touched up.


 Next I Just give the whole thing a black wash. Again, the highly textured surface of the model really makes this effective. There were also a few areas I wanted to be brighter, so I spotted them in after the wash -- the glowy coil on the gun (which I have kind of failed to cover) and the goggles are examples of this.

I also drybrushed the base.


In the final stage, I went back and did some spot highlighting, picking out the goggles again with a lighter shade of blue-green and lining the edges of some of the suit plates with the original colour. I neatened up the base and applied the helmet, which is a bit of a tricky process.


Anyway, here is the expanded squad. I've still got a few more to do but I think they're coming along nicely.

Friday, 30 December 2016

Holiday painting 3: Grenadier cleric!

This old D&D character model was my third painted figure over the holidays, painted on the 27th. She'd been sitting on my painting table for weeks. She's one of that very generous gift of old models I received from a friend.


The Grenadier models are very small compared to more recent figures, but they have a lot that I like, and one of my favourite things about them is the variety of female characters. I swapped away a few of the male adventurers, but I kept pretty much all of the women.

This is just a quick paint job, and the helmet and face could do with a little more detailing, but she'll do. In honour of the holidays, I painted her robe and fur trim in Yuletide colours.

Friday, 21 October 2016

Age of Sigmar: Easy mode update

So I mentioned that I didn't think I was going to be able to finish this month's Age of Sigmar painting target, so I pulled out my big single model to fill in the gap. Well, that seems to have been successful so far.


So, this is what it looks like after an evening's work. As you can see, the basic colours are all on there, and if I don't get time to back to it this month I'm going to call it done. Like any Reaper Bones model, the mould lines are an ugly mess, and I kept finding them when I thought I'd got them, but ... eh. It'll look OK on the tabletop. I feel like it's at about 80%, and if I get the chance to touch it up a bit over half-term I can get it to about 90.

I was originally going to paint it in naturalistic colours, but I wanted it to be more consistent with the rest of the army, so I went for a white-and-black colour scheme with the side heads represented in the army's green and purple accent colours.

Monday, 5 September 2016

A few new painted models

So, in addition to progress on my Age of Sigmar project, I've been painting a few extra models, including some minis from that big haul I received in early August.


This wereboar is from Grenadier, and is shown here with other models of the same era. Compared to more modern/British-influenced models, it is titchy, so I will probably not use it as a big, terrifying monster in games. Instead, it's gonna be more of a pathetic mutant type.


These prisoners come from Ramshackle Games and will make excellent objectives for rescue-type missions.


This hideous axe-wielding mutant is also from Ramshackle, and will wind up leading the assault squad of my Chaos cultists or serving as a general baddie in post-apocalyptic games. I love Ramshackle's whole aesthetic, and I'm really pleased by how this guy came out after a super-quick paint job.


Another Ramshackle model, this is a giveaway figure from BOYL 2016. I may have already shown him, but whatever.


The fair Gwendolyn is a lovely 1980s Grenadier model -- like a lot of that range, she is a lovely portrayal of a female character, not super sexualised and just generally useful. However, like other Grenadier models of the era she's tiny.


This massive brute in rusty armour comes from, you guessed it, Ramshackle, and is going to serve either as a generic wasteland baddie or as a champion of Nurgle. If he's going to be in the Nurgle army I should probably add a contrasting purple element to his paint scheme, but I'm not sure where it would go. The colours look a bit washed out in the photo, but oh well.